Release the plugin
Once everything is done, you are ready to start the release process.
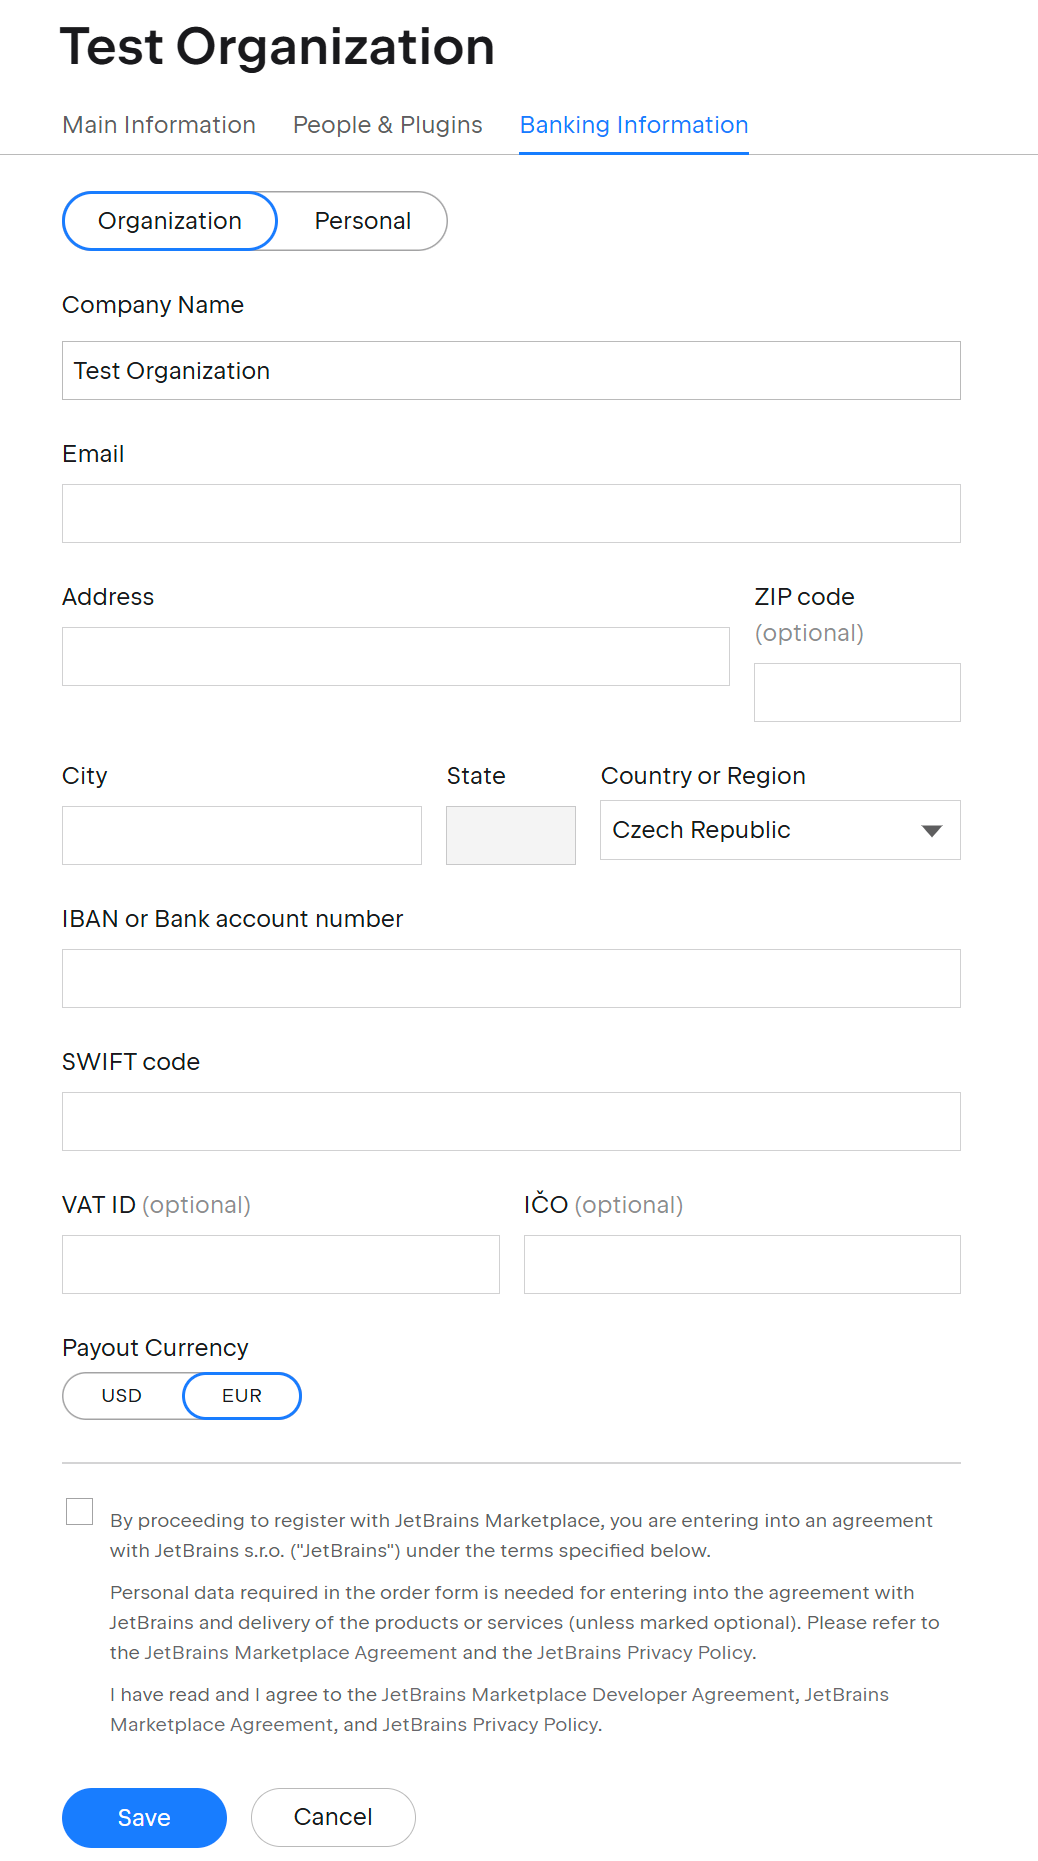
Make sure that you have an Organization and that you have submitted your banking information under the tab.


If this is your initial release, upload the plugin to JetBrains Marketplace.

If you are switching the model from being a free plugin to paid/freemium, upload an update.
If you have not already done so, transfer the plugin to your Organization by going to the plugin Overview page and selecting your organization under :

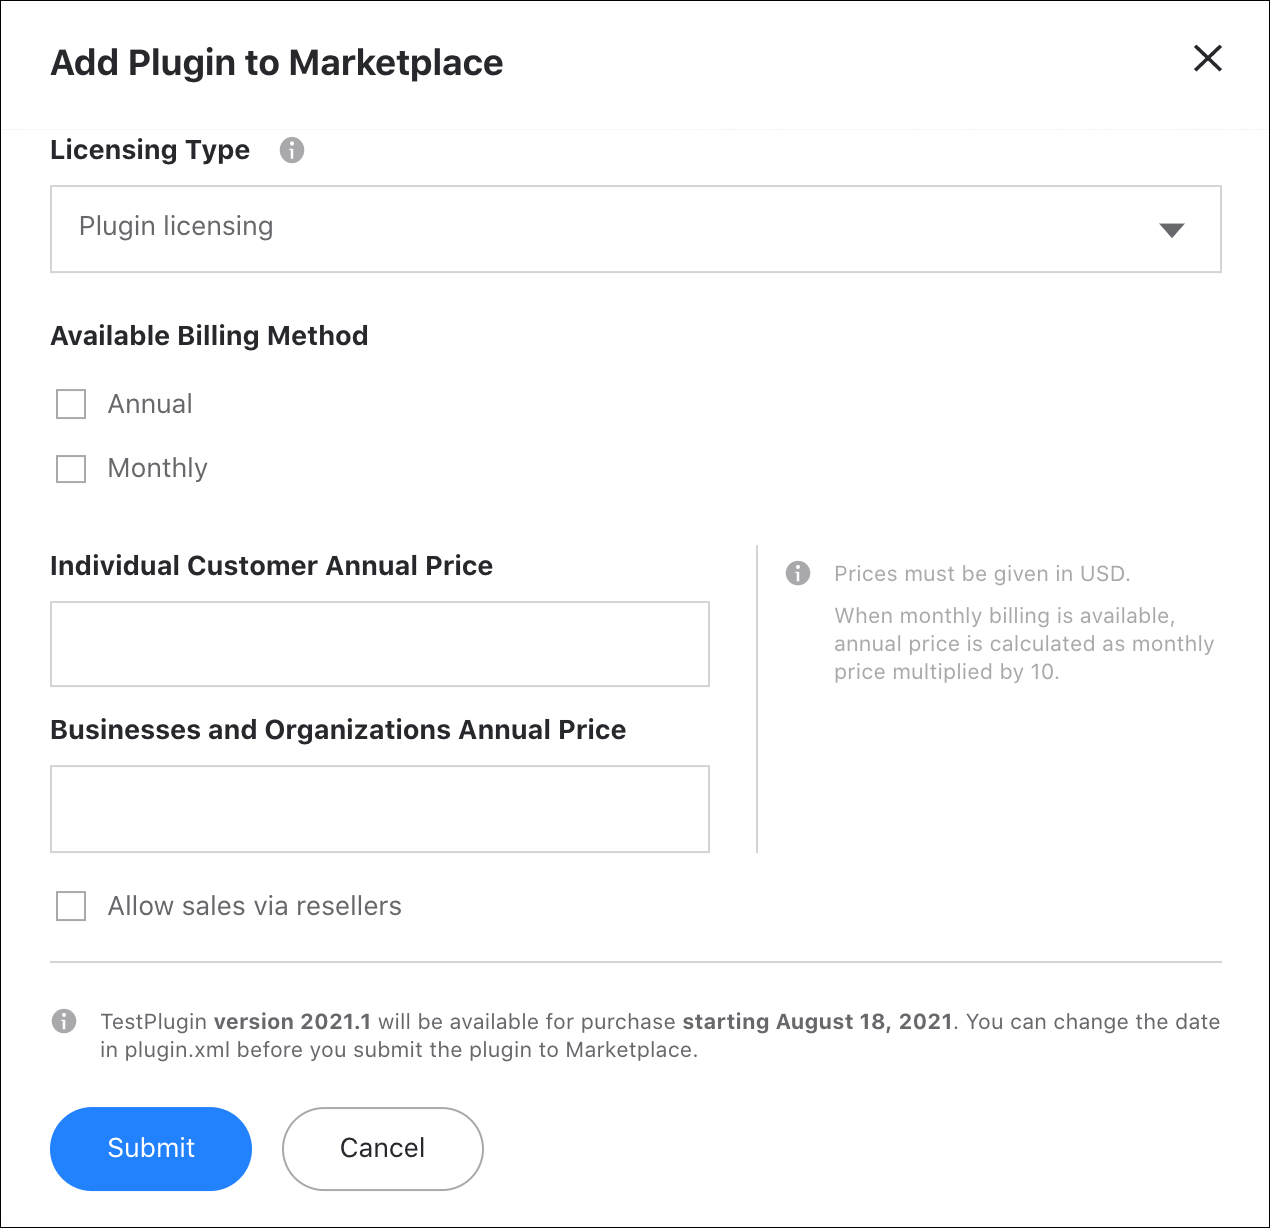
Go to the tab on the Plugin page and press the Add to Marketplace button to fill in the sales details.

Be careful when filling out this form. We recommend checking out our Pricing Guidelines and details on the supported Licensing Schemes.

If some fields need to be changed after submission, write to the JetBrains Marketplace team at marketplace@jetbrains.com.
Below the sales details, you can select any community discounts you want your plugin to offer.

Keep in mind that free community programs require an annual billing period. To enable it, contact our Support Team at marketplace@jetbrains.com.
Optionally, you can adjust the trial period or disable it. The default trial period is 30 days. To edit it click the Edit Section button near the Trial Period section:

You can then select the 7, 10, 14, 30 days periods or disable it:

You can change the trial period at any time after the plugin is reviewed.
Once these steps have been performed, we will review your plugin within two business days. You will receive a notification as soon as the status of the review changes or if there are any questions regarding the approval of your plugin.