Getting started
If you are new to plugins, please start here.
Plugins extend the core functionality of IntelliJ Platform IDEs.
By installing plugins, you can get the following features, among others:
Integration with version control systems, Docker, Kubernetes, and other technologies
Coding assistance support for various languages and frameworks
Shortcut hints, live previews, and File Watchers
Edu courses, including coding exercises that can help you to learn a new programming language
Themes, color schemes, backgrounds, progress bars, and other visual customizations
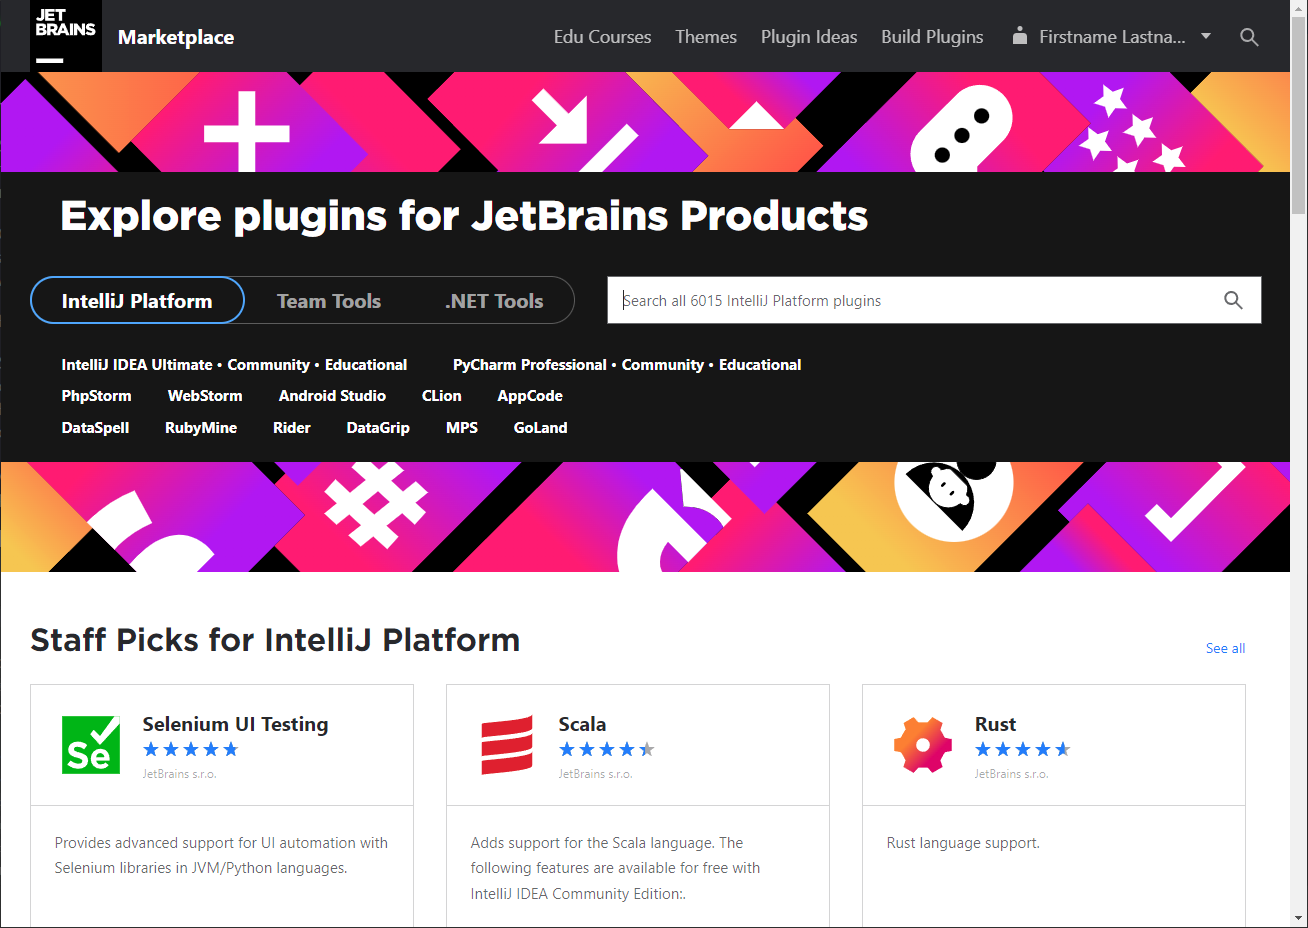
You can browse the plugins in the JetBrains Marketplace.
If you want to install a plugin, you can click the Get button. If you have the IDE running at the moment, the button will change to Install to IDE and the plugin will be installed directly in your IDE.
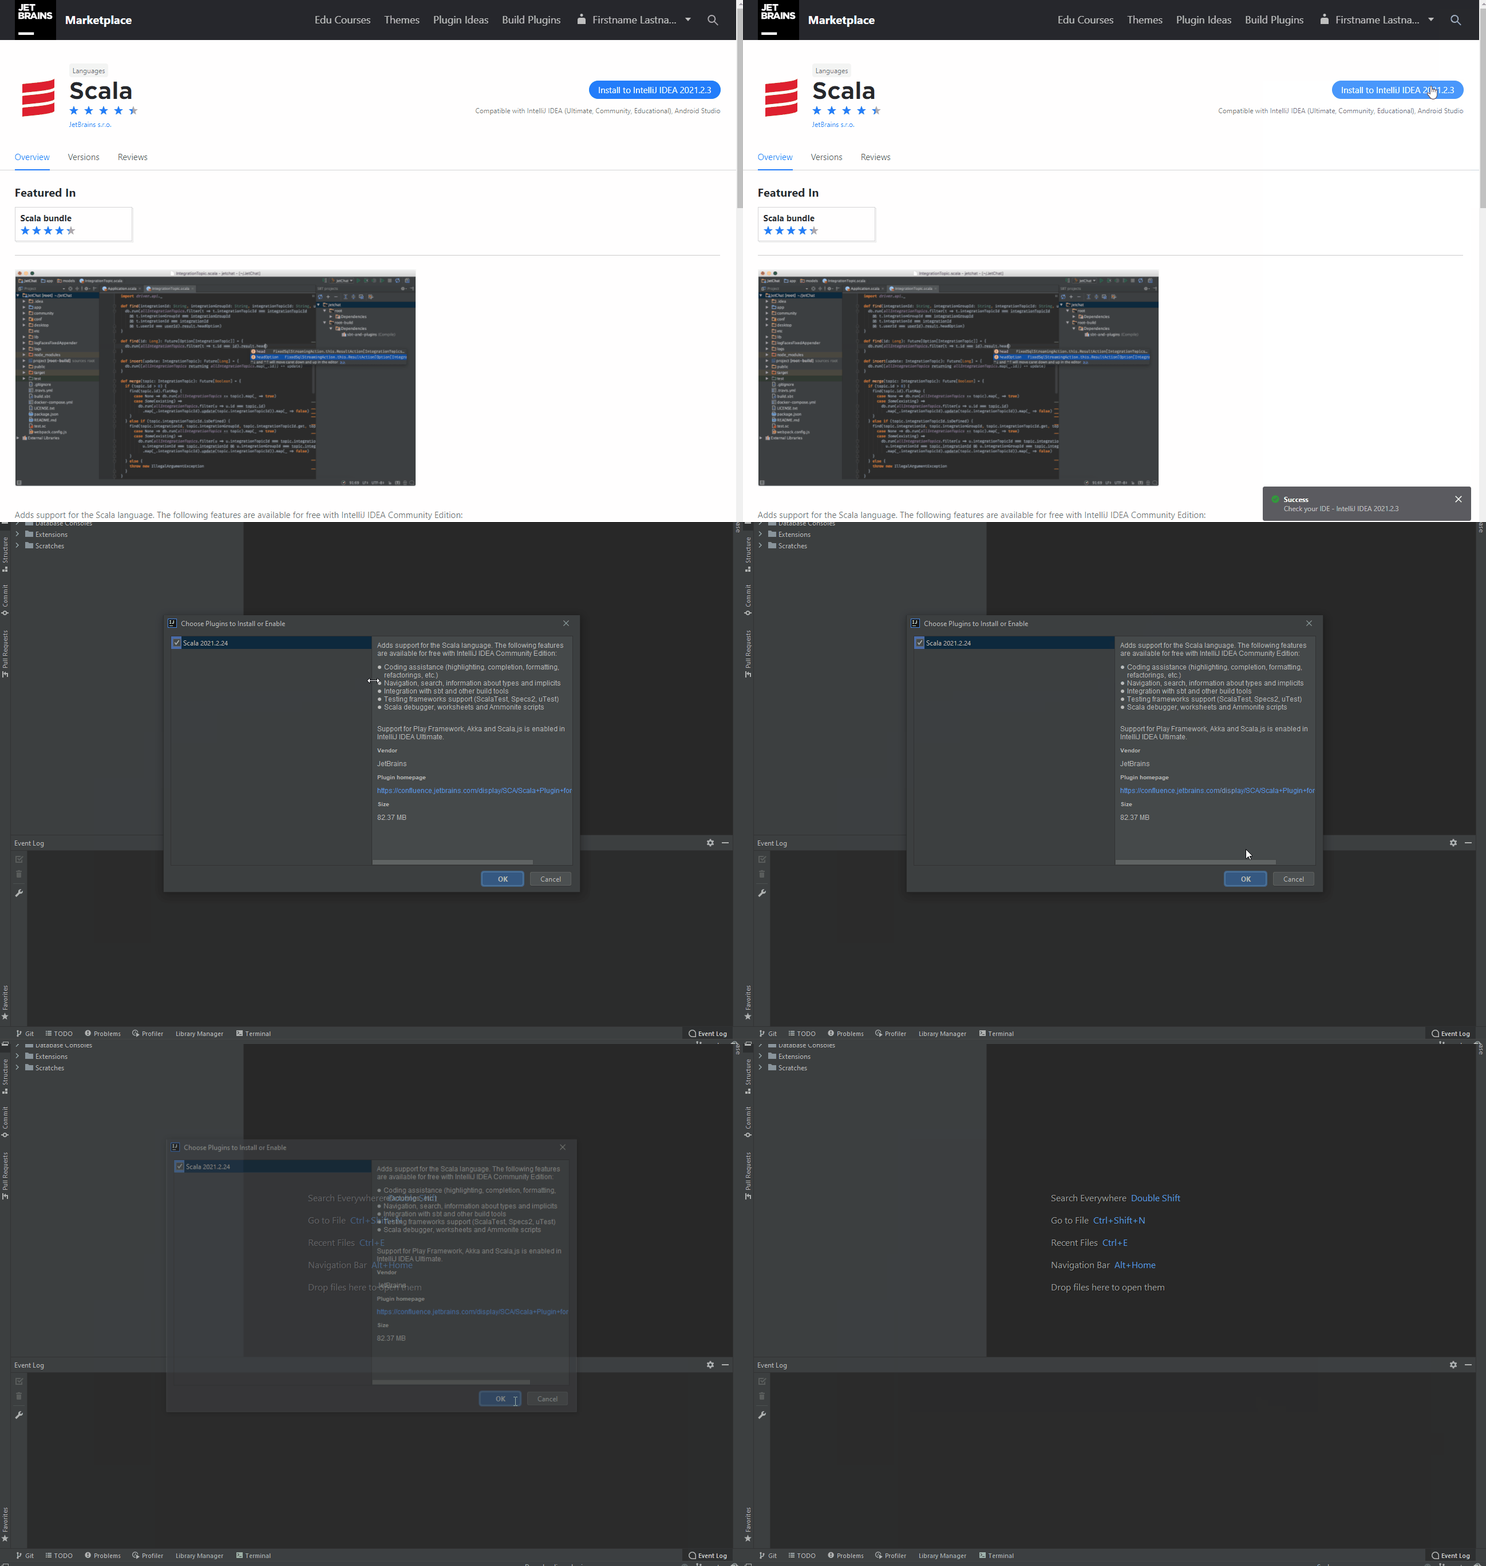
You can then manage the installed plugins in your IDE.
When an update is available, you will get a notification in your IDE to install the updates and (sometimes) restart the IDE.

Plugin development
Technology evolves quickly, and authors upload dozens of new plugins (and updates to existing ones) every day. If you cannot find the plugin you need, you can ask the community to create one for you, or you can even create it yourself.
If you want someone to create a plugin for you
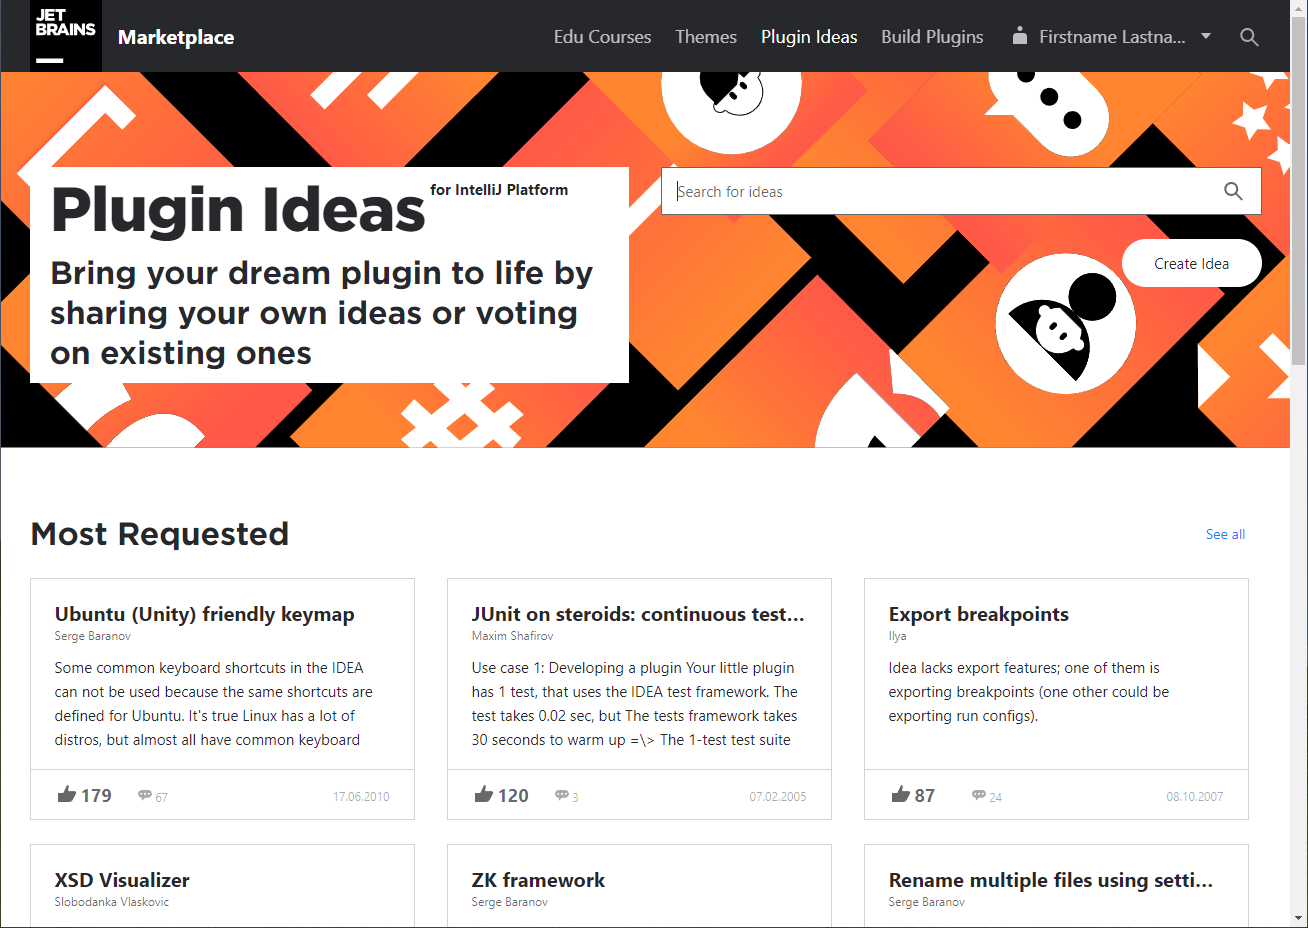
Check if there is already such a request on the Plugin Ideas list and vote for it or submit your idea.
Join the JetBrains Platform community and discuss the idea with the community.
If you want to develop a plugin
Consider checking the Plugin Ideas list and bringing the requested features to life.
Check the IntelliJ Platform Plugin SDK docs.
Join the JetBrains Platform community to discuss any questions related to plugin development with the community.
Check the IntelliJ Platform UI Guidelines to create consistent and usable user interfaces.
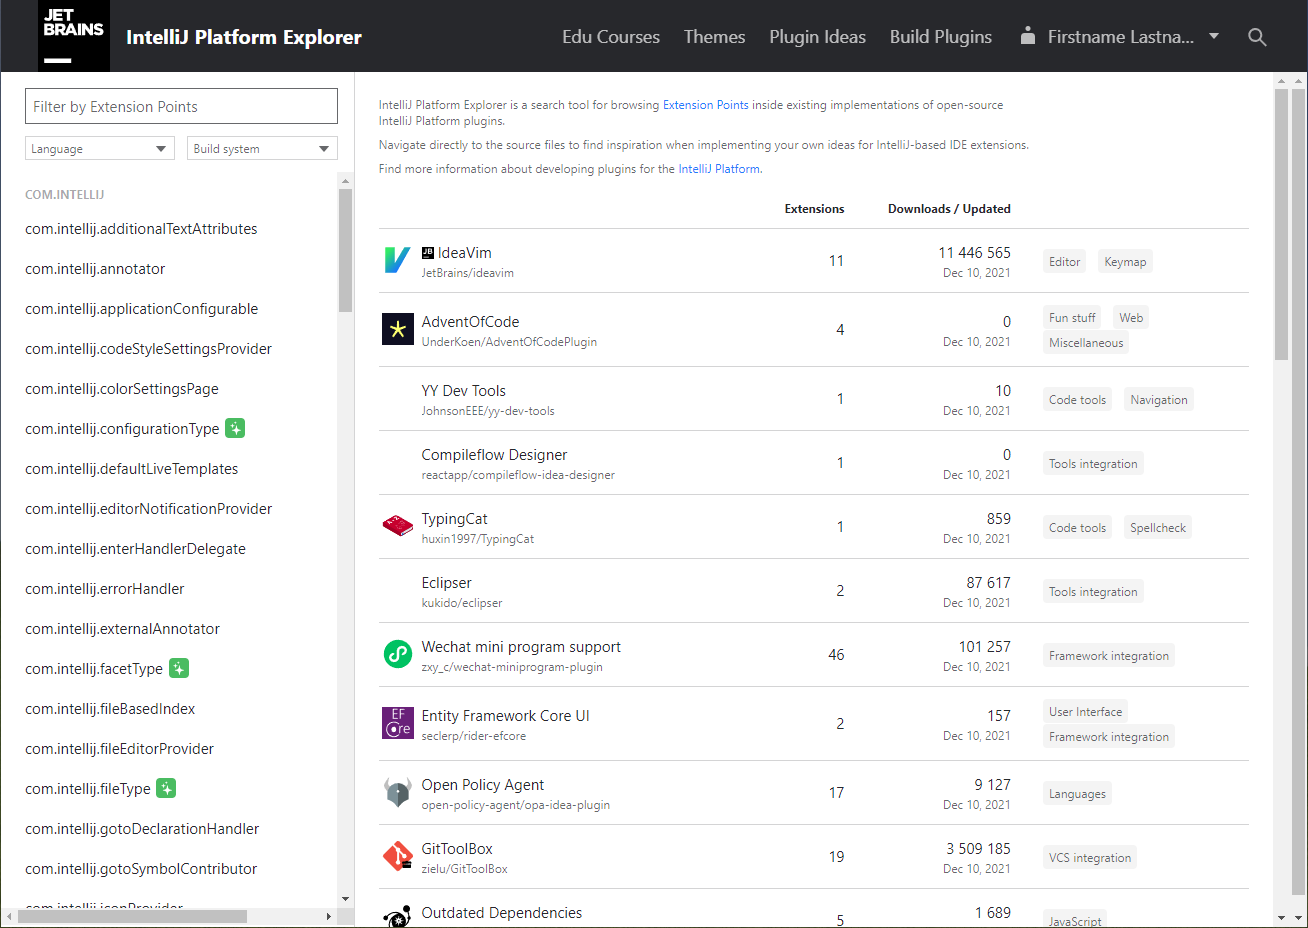
Browse the source files of open-source IntelliJ Platform plugins hosted on GitHub to find inspiration when implementing your ideas for IntelliJ-based IDE extensions.
Publish plugin
Submitting a plugin
Before you submit your plugin, please check the Quality Guidelines to improve the overall quality of your plugin and start preparing your plugin's page.
Publish a plugin on JetBrains Marketplace
Click the Upload plugin button.
Read and accept the JetBrains Plugin Marketplace Developer Agreement.
Select the proper license.
Select the most suitable tag.
Select a release channel.
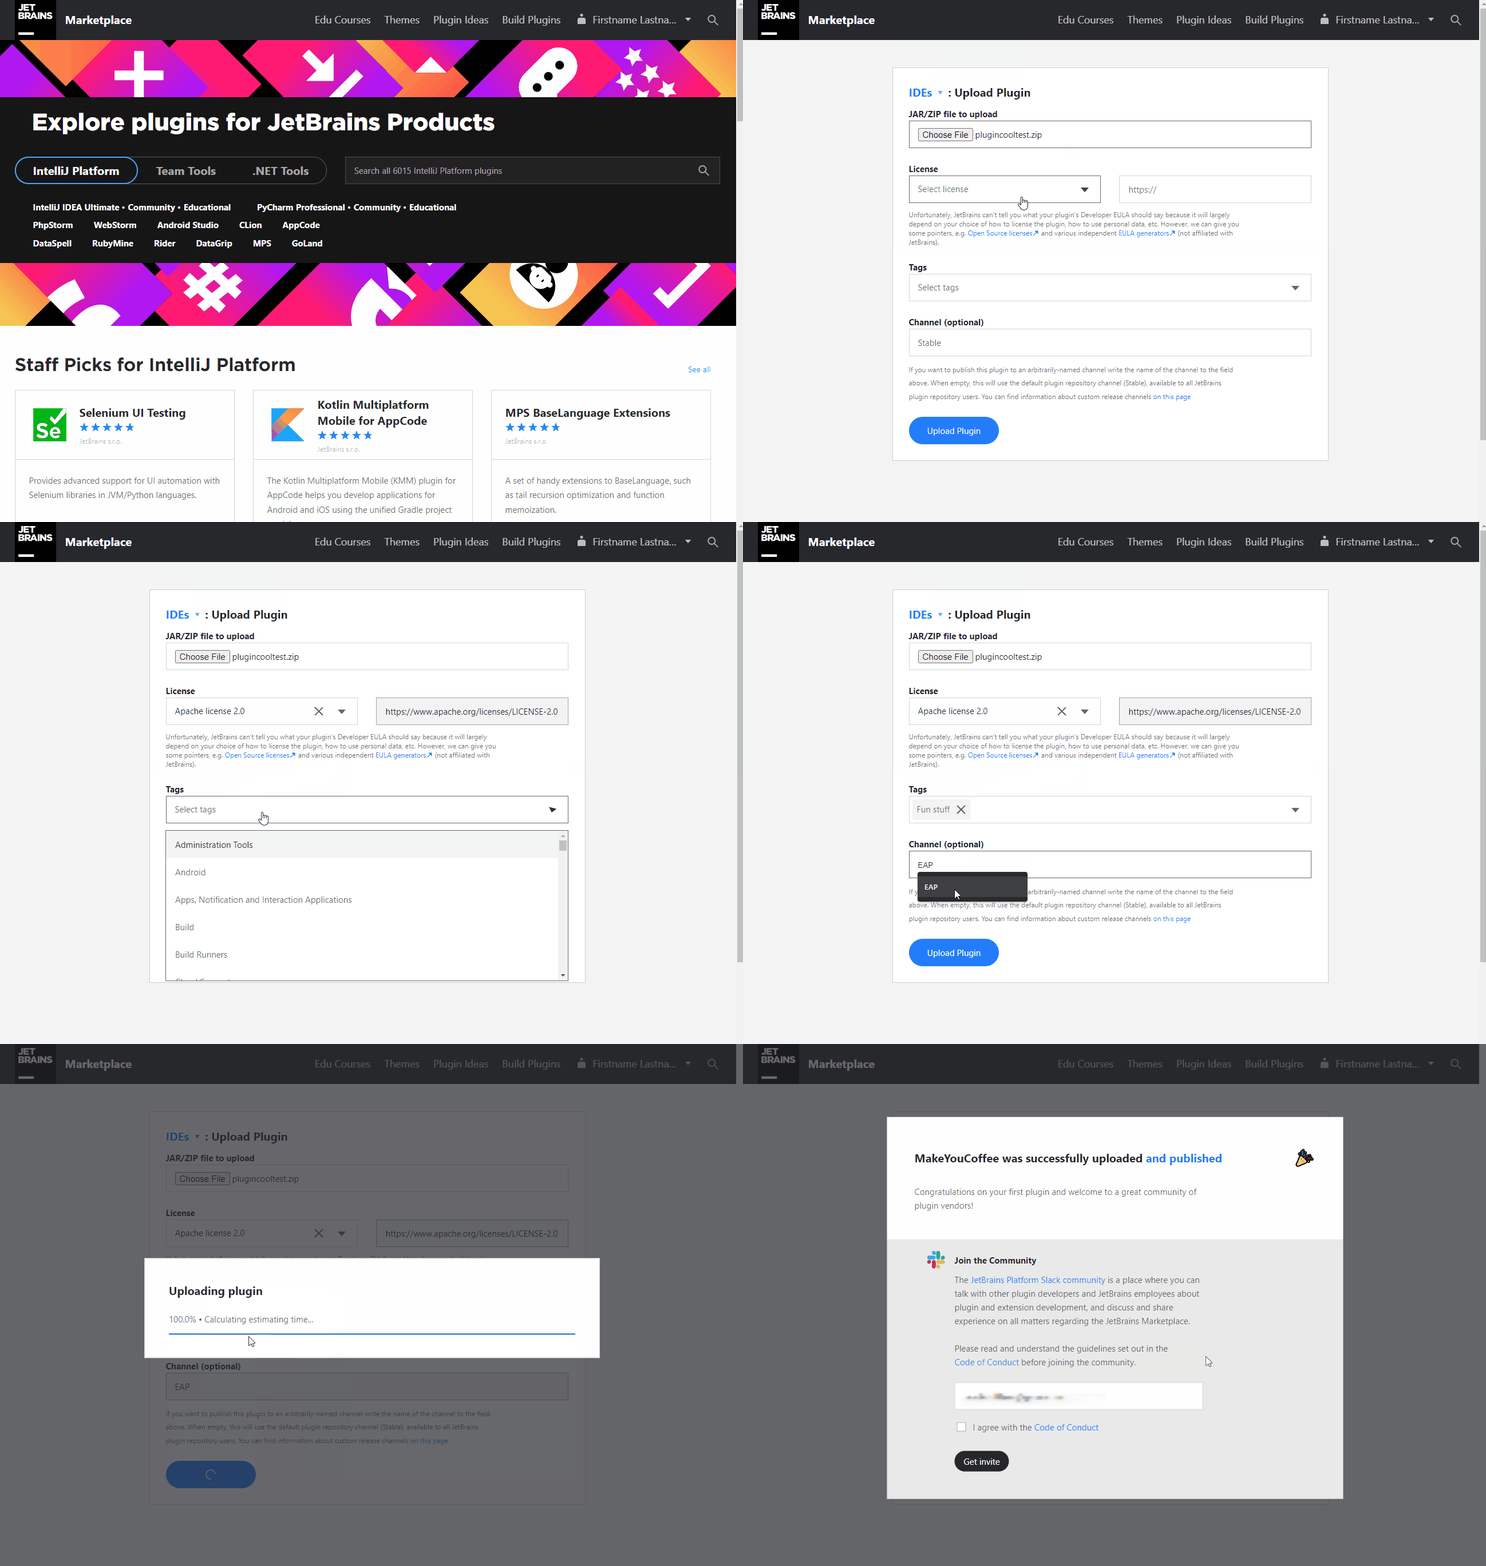
Plugin approval
Once a plugin has been submitted, the JetBrains Marketplace team checks it according to the Approval Guidelines. Please expect approval or a reply within two business days and note that the answer will be sent to the email address associated with your JetBrains Marketplace account.

Plugin page overview
While you are waiting for approval, you can familiarize yourself with your plugin's page.
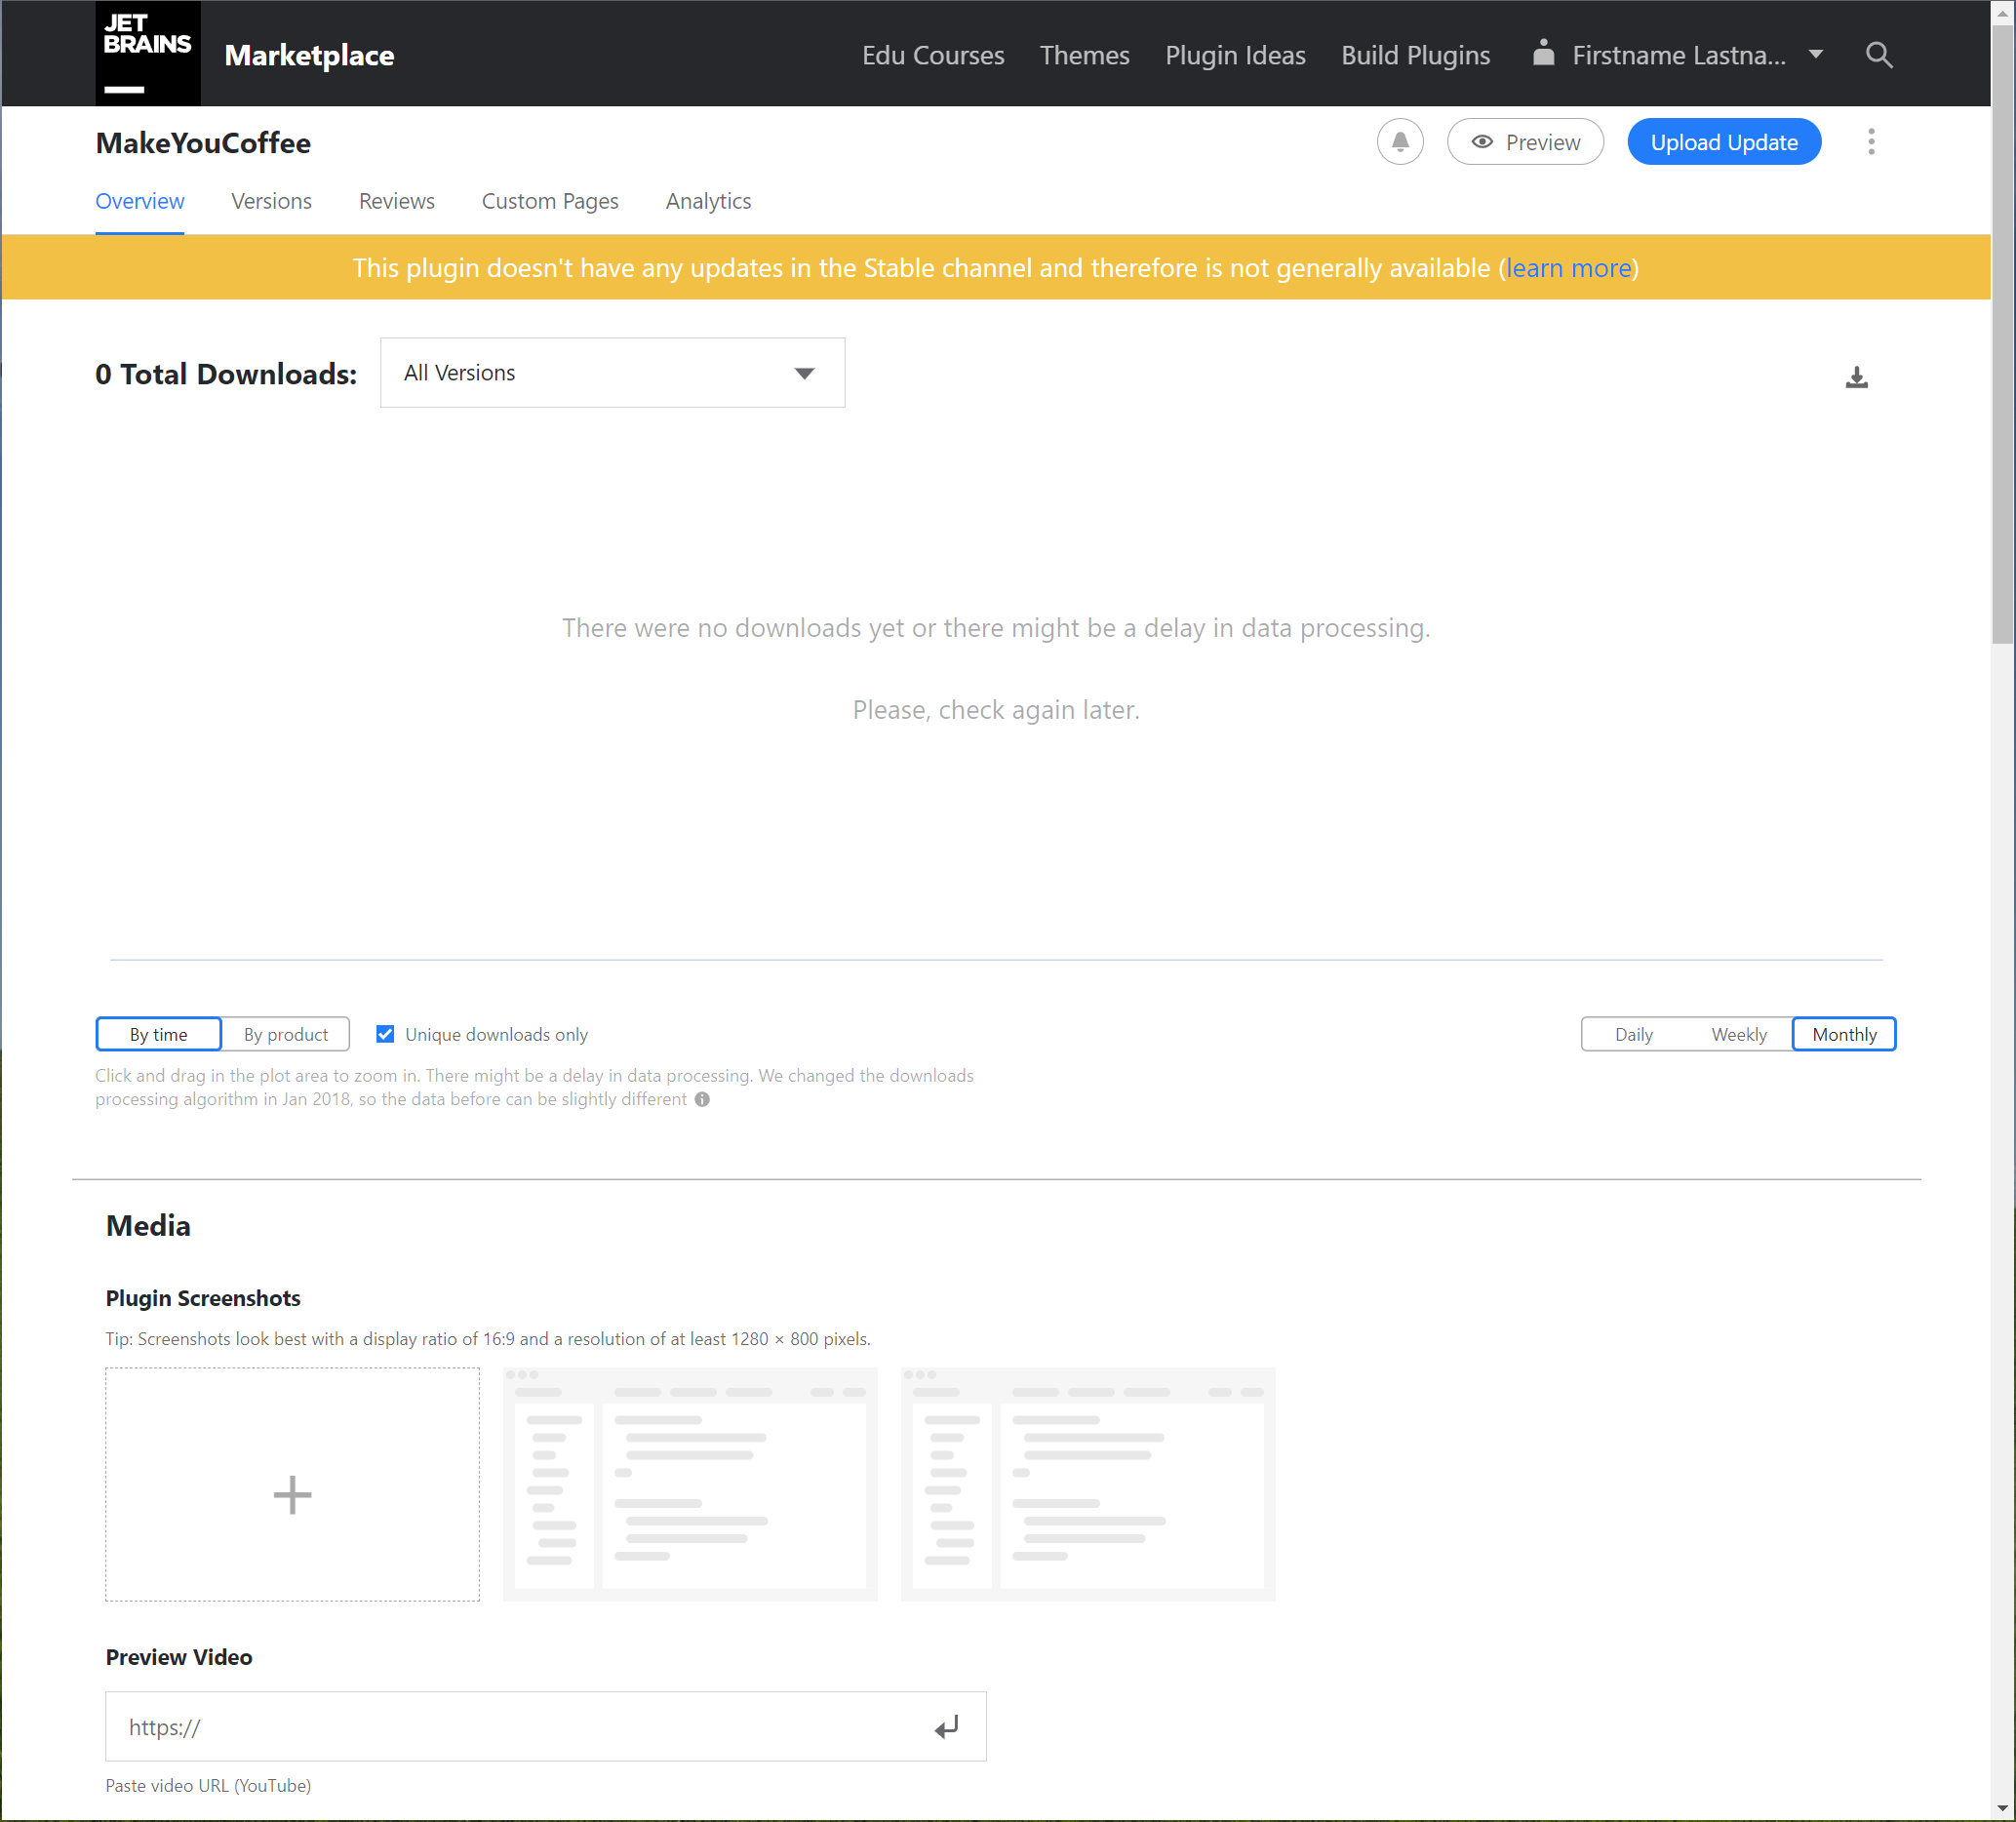
In the Media section, you can upload screenshots and add a video.
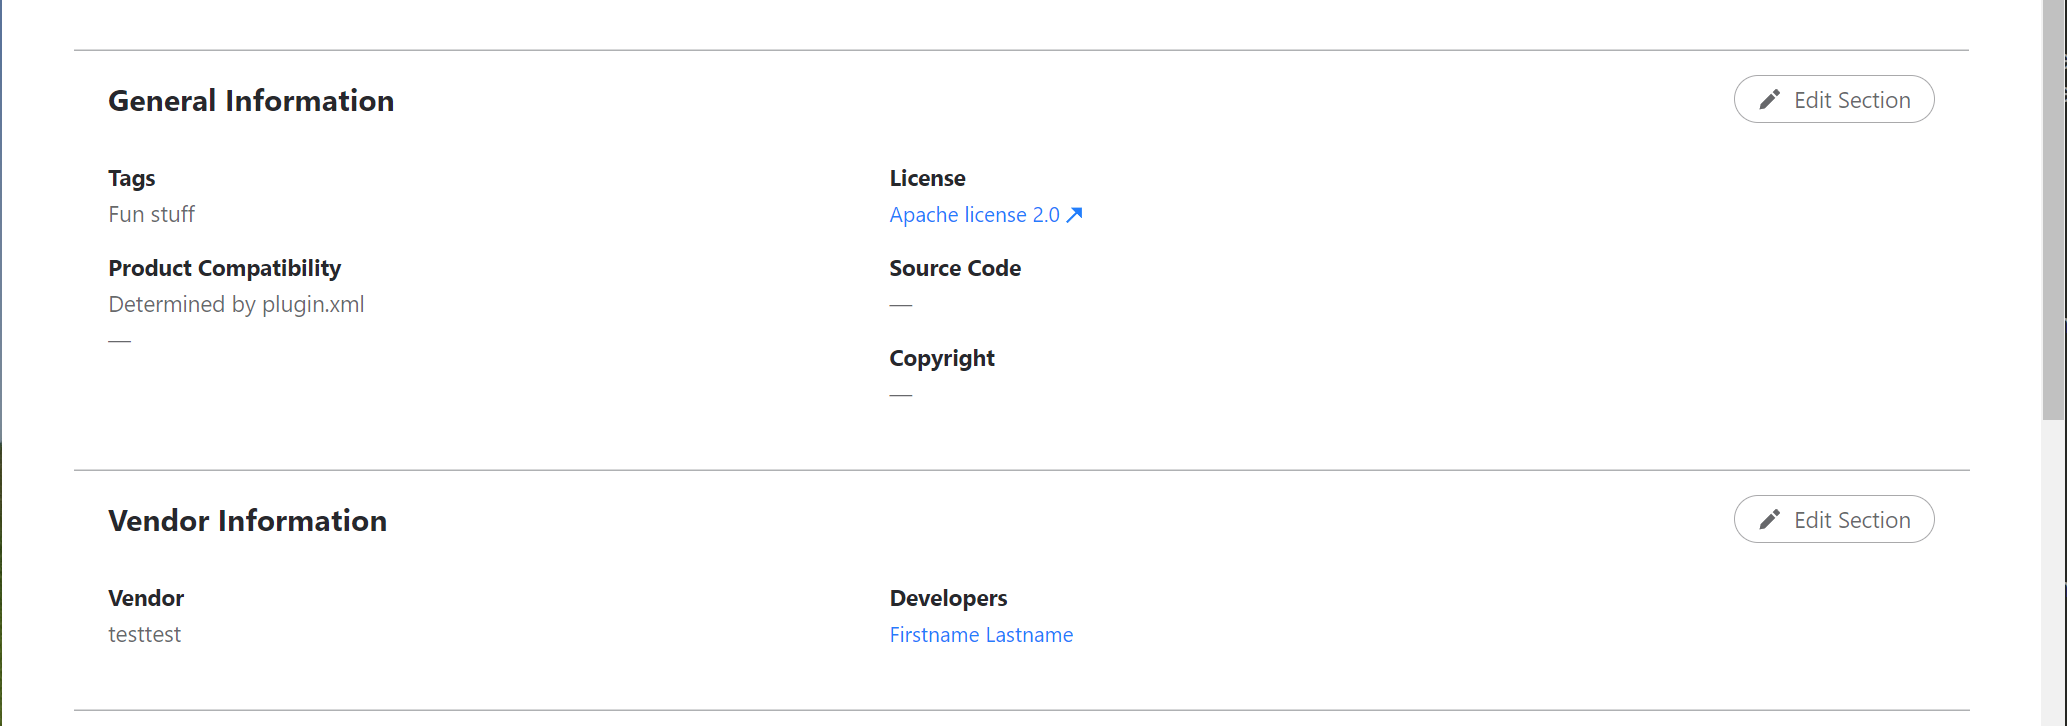
In the General Information and Vendor Information sections, you can add/remove tags, change the license, add/remove authors, add copyrights, and add source code link.

In the next two sections, you can check the Description extracted from the configuration file — plugin.xml, and add Getting Started instructions.
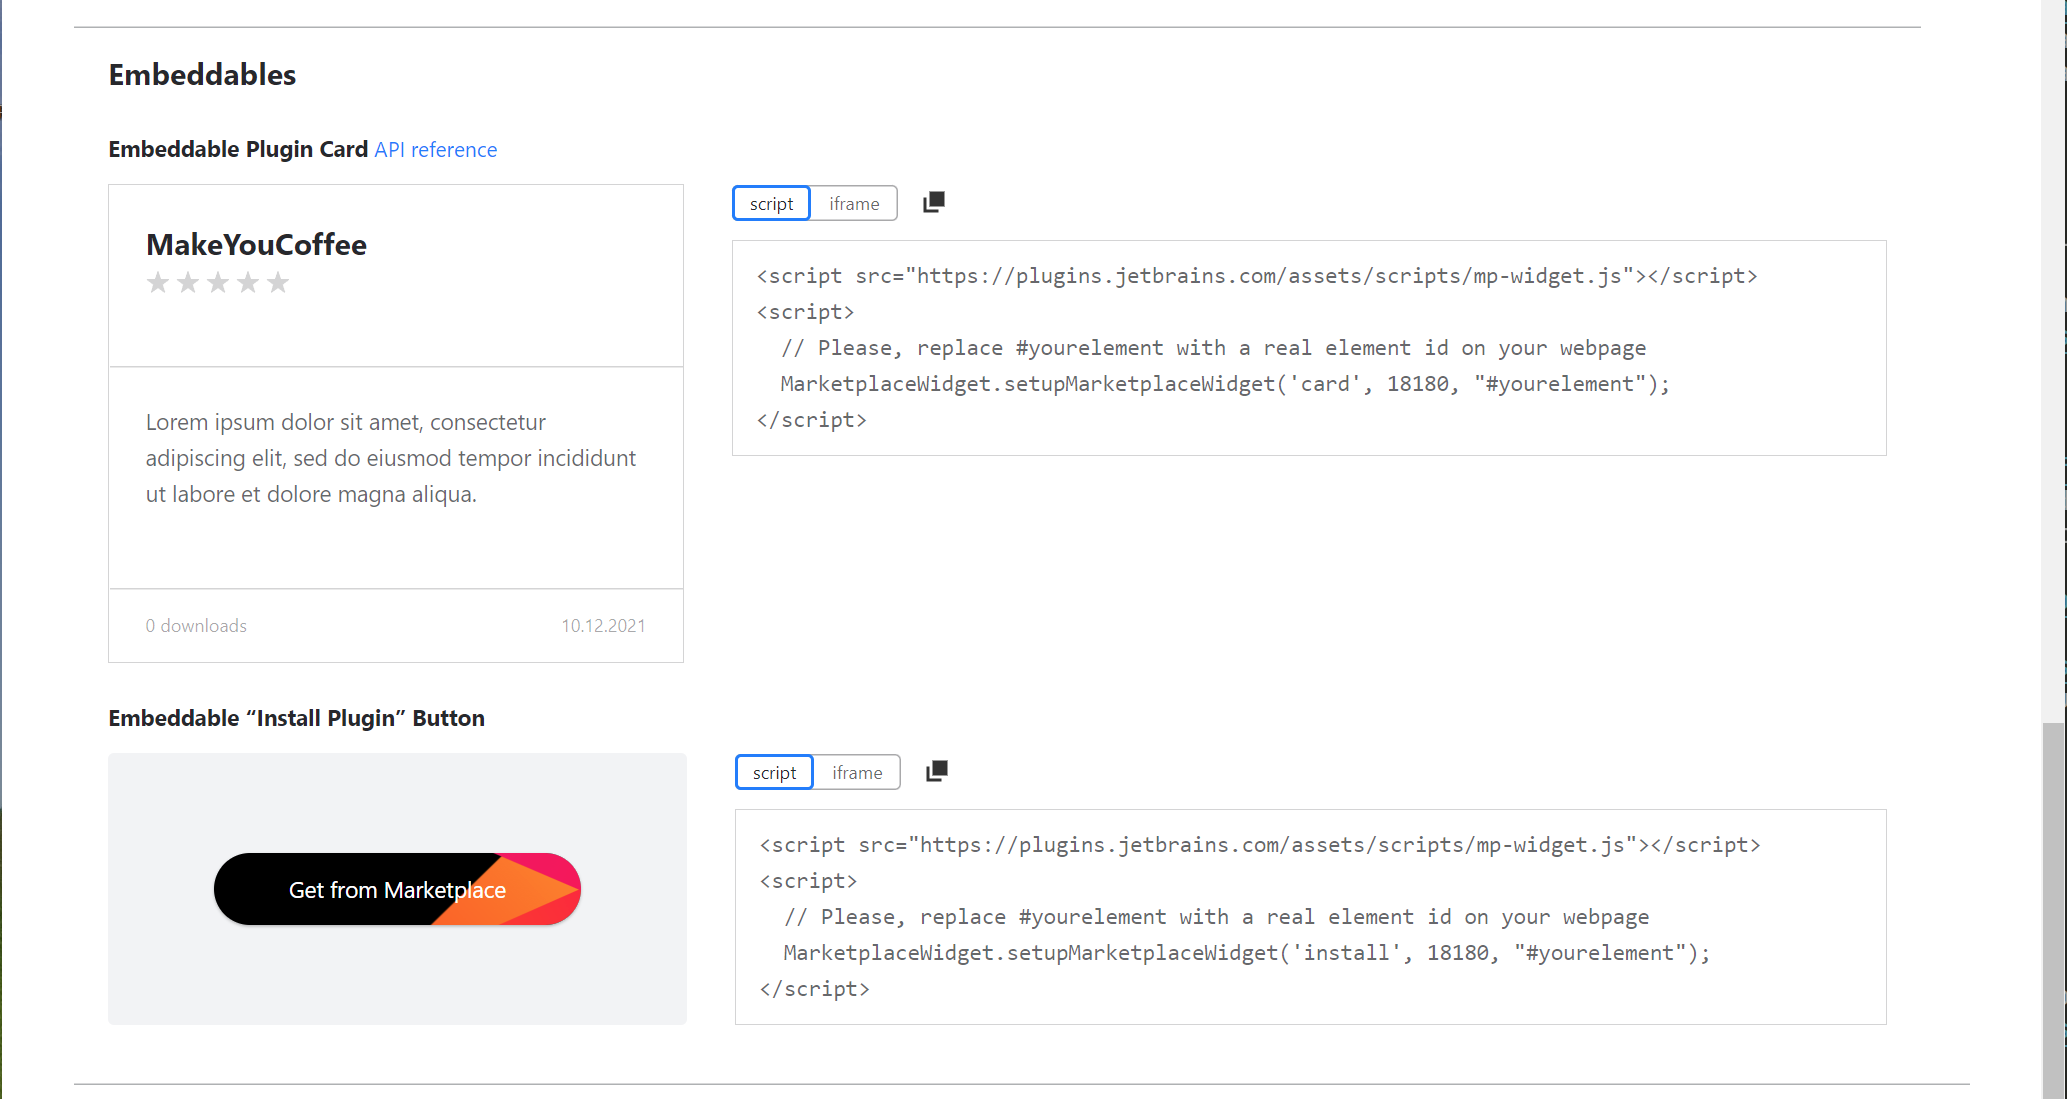
In the Embeddables section, you can copy the code for embeddable Plugin Card and the Install to IDE button.

In the next section, you can add links to your plugin’s issue tracker, documentation, forum, and add custom contacts. If your plugin adds Features, you can also check them in the Technical Information section.
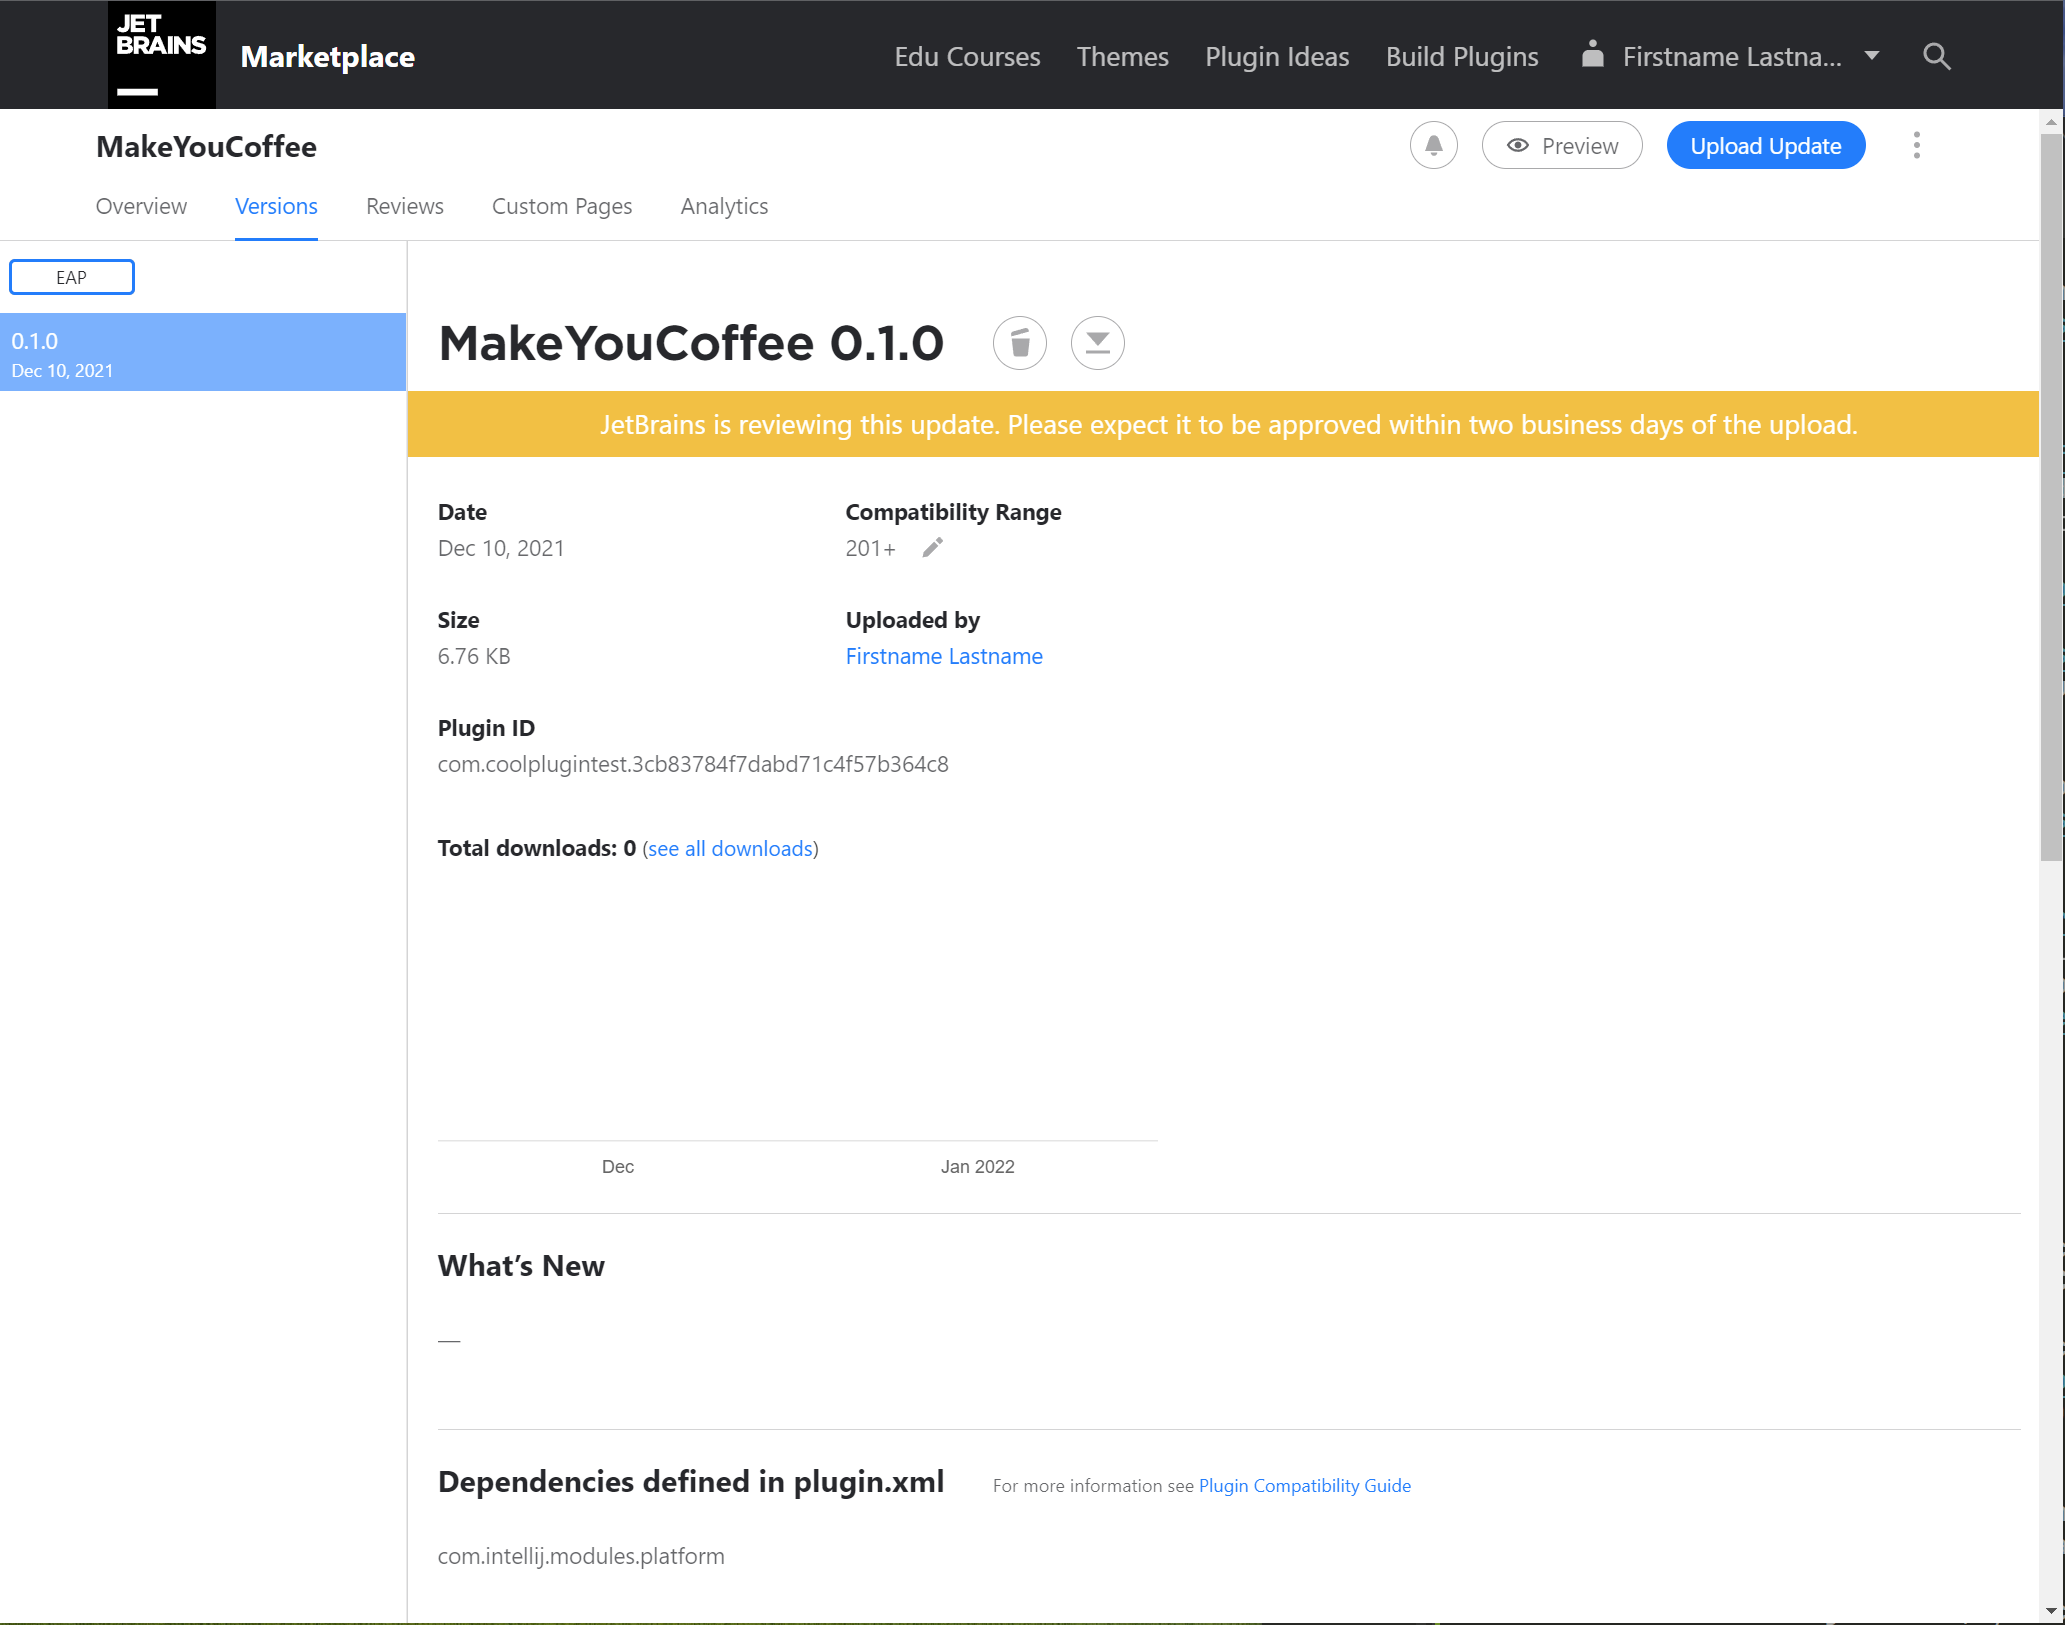
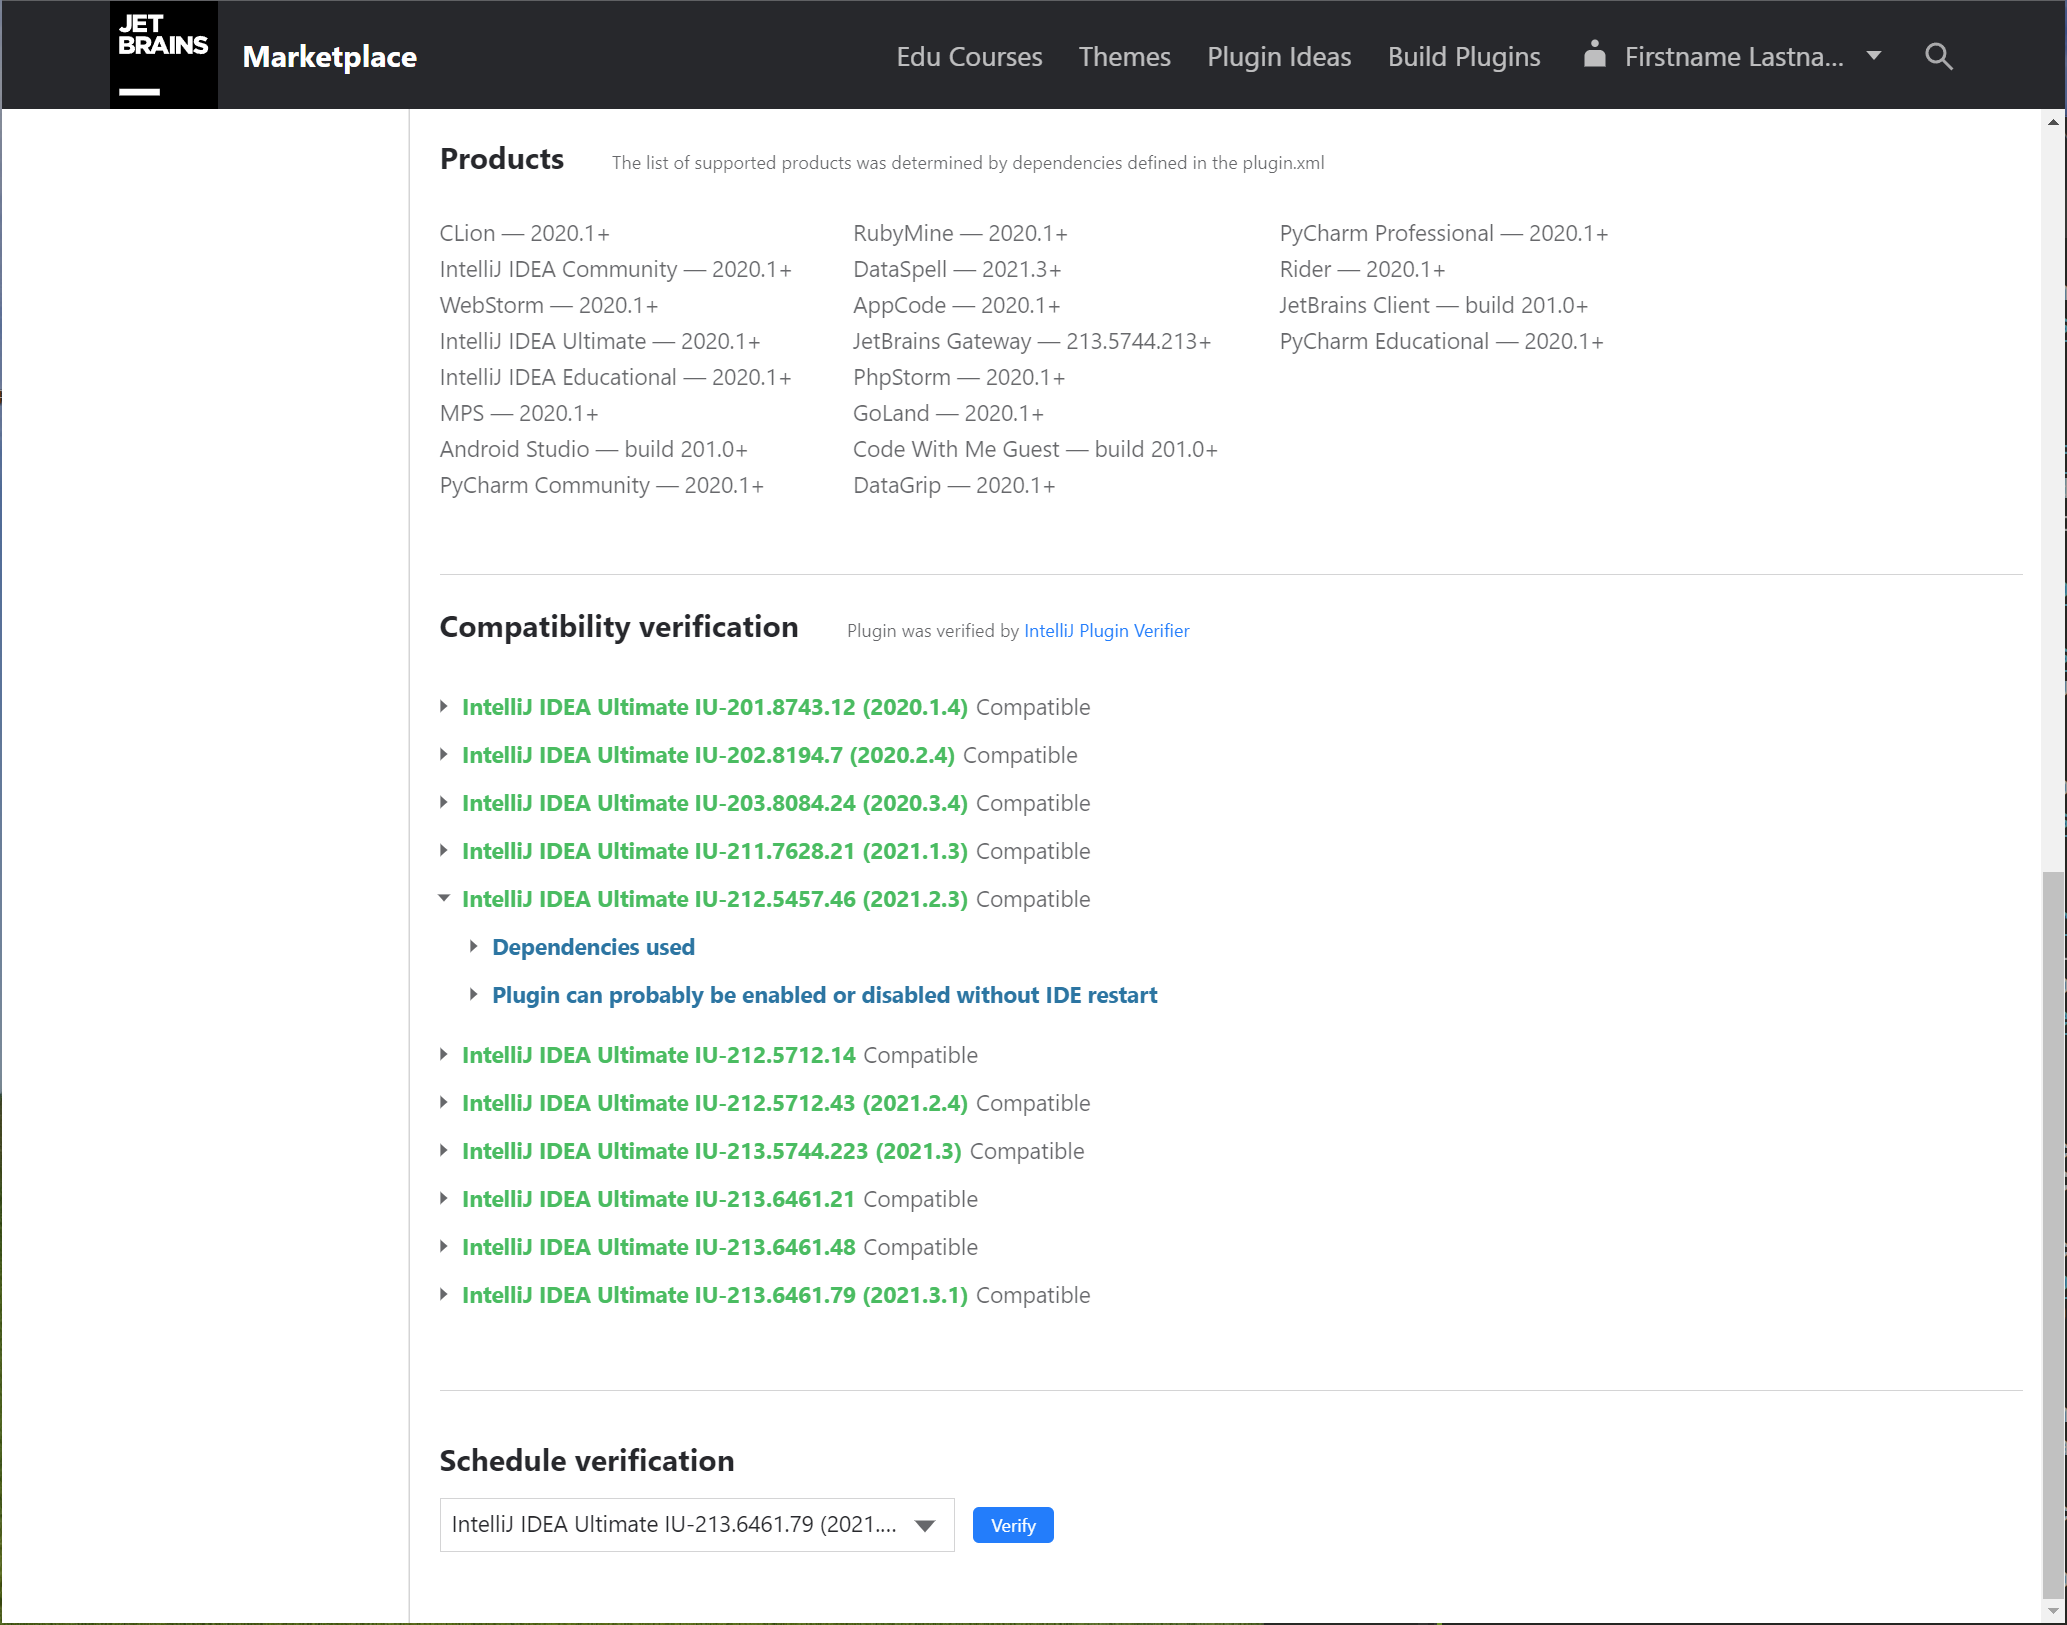
On the Versions tab, you can check the individual updates for your plugin. The most interesting parts here are the Compatibility Range, where you can manually set the compatible versions of the update, number of downloads for this update, and Compatibility Verification, where you can check the results of the verification performed by the IntelliJ Plugin Verifier.

On the Reviews tab, you can check the rating and reviews for your plugin. You can also reply to the reviews.
On the Custom Pages tab, you can add a Custom Page to provide your users with additional information such as documentation, marketing landing pages, etc.
On the Analytics tab, you can see a dashboard with interactive charts, including download stats, sales graphs (for paid plugins), and some web analytics. More information can be found in this article.
Next to the tabs, there are several buttons.

If you click on the Bell button, you can manage your notification settings.
The Preview button allows you to check how the plugin's page will look publicly.
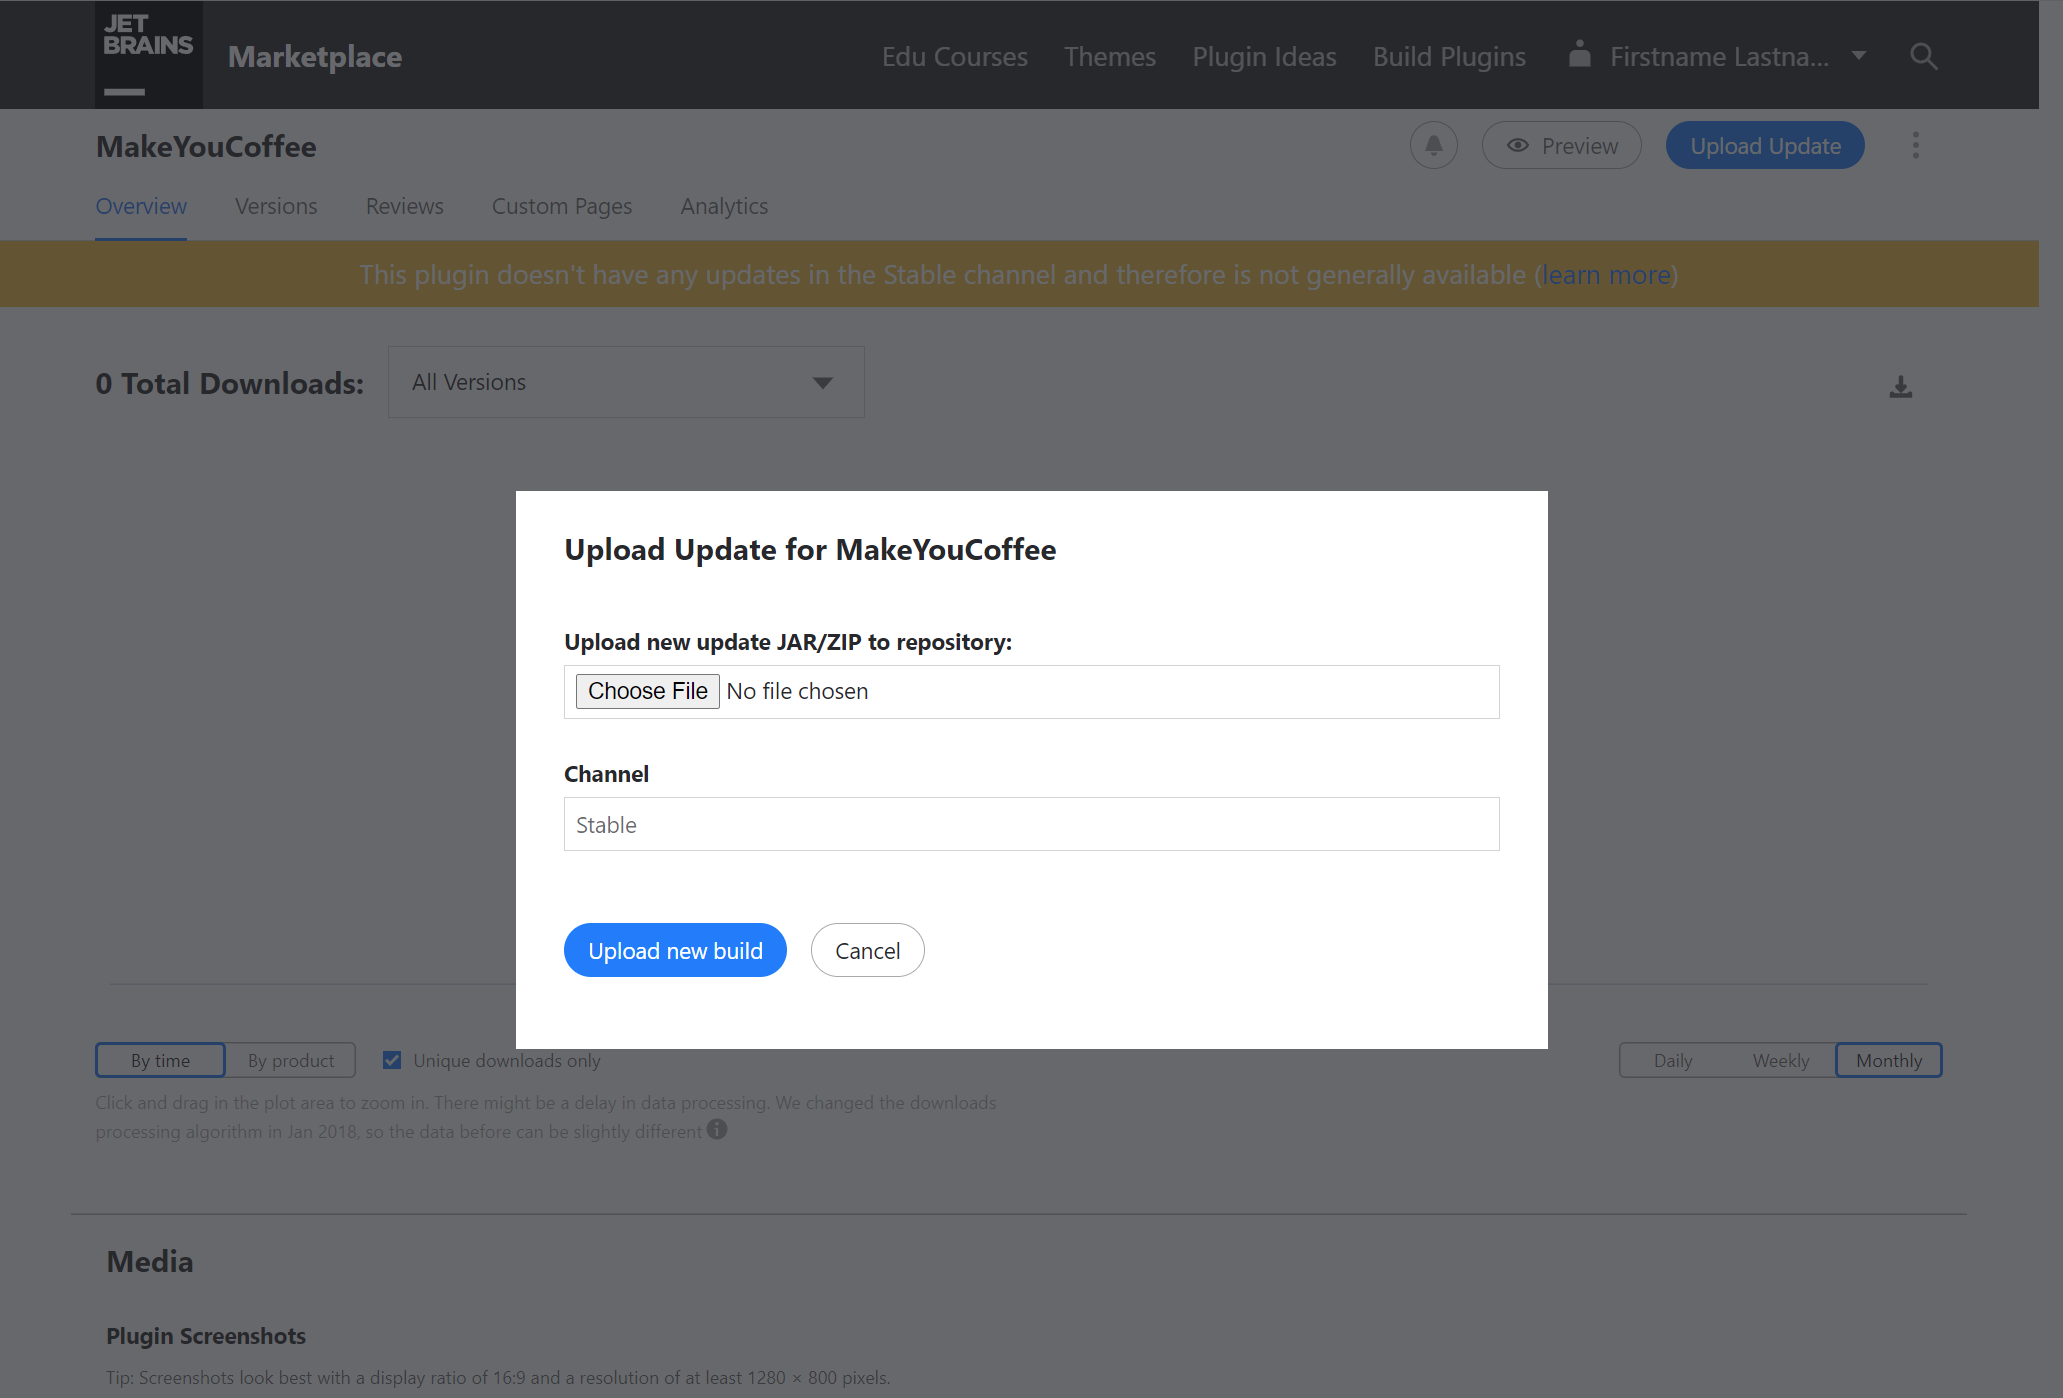
The Upload Update button is for uploading a new update for your plugin. You can select a different release channel for each update (useful for EAP/Beta/Nightly/Stable approach).

To remove the plugin, click the button with three dots next to the Upload Update button.
Hotkeys
It's no secret that using hotkeys instead of the mouse allows you to work faster, thereby saving you time. Here you can find some basic hotkeys for JetBrains Marketplace.
For plugin authors:
Hotkey | Description |
|---|---|
| Navigate on the Versions tab ( |
| Switch between tabs to the right. |
| Switch between tabs to the left. |
| Focus on the Search field |
| Open the Preview mode |
For Marketplace users:
Hotkey | Description |
|---|---|
| Search field |
| Can be used for navigation (but should be improved in future). |
What's next
You can start generating income from your plugin by selling it on JetBrains Marketplace. Check out this page for an overview and general information.
To try selling your plugin on JetBrains Marketplace, please follow this step-by-step guide.